How to properly resize images for web
There’s a lot of confusion (and a couple of myths) about the correct way to resize images for web before uploading them to your website. We want that balance of the image looking fantastic, and the site still loading really quickly. This quick guide should get you the best results!
Export Settings
File size depends on three things:
1. The number of pixels in the image;
2. The colours and structures in the image;
3. The compression applied to the image.
That’s it, so what are the optimum settings for your website? Read on.
Pixel Dimensions
It starts with exporting your images correctly in the first place. Too few pixels and you limit the usability of the image, you’re not going to be able to use it full width, too many and they’re going to be wasted because your client’s screen generally won’t display that many pixels.
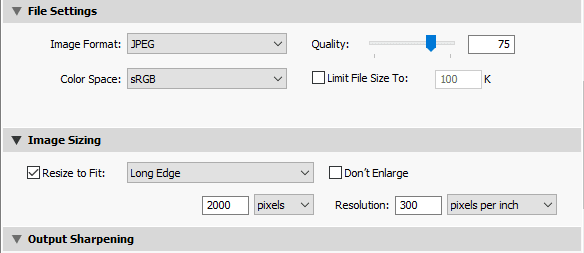
From my testing, the optimum pixel width to get the balance of pin-sharp images when used full-width, and file size, is 2000px wide. Any more than this and you’re just adding file size for no-reason.
Quality / Compression
Next is the amount of compression, or quality – I know some guides suggest putting in a maximum file size – but I don’t like that. The file size of an image depends on the content, the number of colours, the complexity of any structures in the image, and the pixel dimensions. By forcing the image to go to a specific file size you’re just adding more compression than you possibly need and therefore reducing the quality too much.
So I stick with a specific percentage of quality from Lightroom – 75%
Resolution
Ah Pixels Per Inch! Possibly the most commonly misunderstood setting on your export screen.
Your resolution setting does *absolutely nothing* to the file when you’re working in pixels. It’s a meta tag that sets the default print size (if you were to just hit print, and not send any size instructions to the printer).
Put whatever you want here (Adobe should just grey it out when you’re working in pixels). It literally won’t change a thing – test yourself if you want.
Export an image 2000px wide, 75% quality and 72ppi, and do it again 2000px wide, 75% quality and 300ppi – the file size will be identical.
PPI simply has no meaning in a digital file, if you set it to 72ppi you’re just saying “This 2000px wide image should be printed 27.78″ wide”.
The image below shows my export settings for web.
Further Optimisation
The optimisation doesn’t stop there, I highly recommend using Shortpixel, if you’re not on WordPress you’ll have to upload the files to their website to optimise, but if you are on WordPress there’s a plugin that will link to their API.
No it’s not free, but it gives impressive results and if you use the “Glossy” setting, there’s no visible loss of quality but there is a decent drop in file size. Depending on how often you upload images, you could either buy a one off plan, or a subscription. The “short” subscription is only $4.99 a month and includes 5000 images per month, which is enough for most of us.
Sign up on their website (this is my affiliate link if you want to give me some love) – https://shortpixel.com/otp/af/XIF5VA8768663
So there you go, a few simple steps to resize your images for web properly and give you a great balance between quality and filesize!
About me
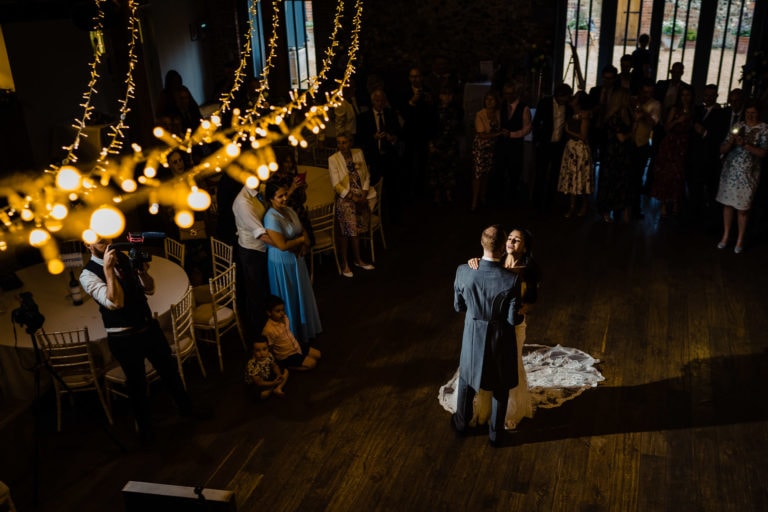
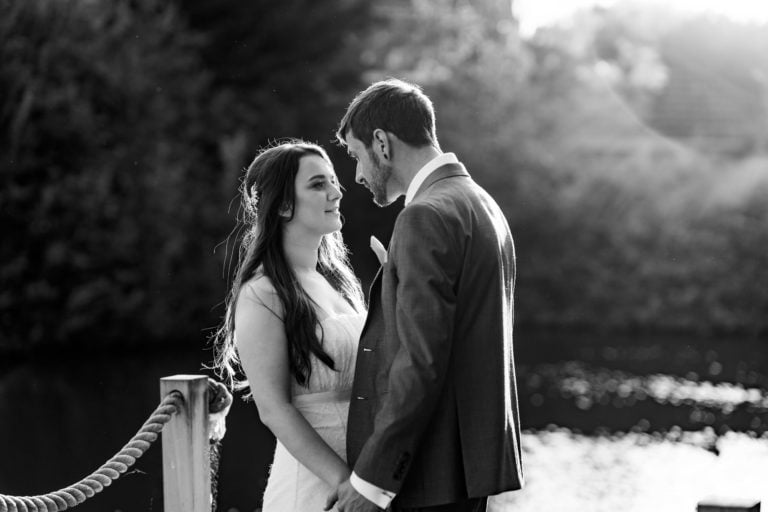
I’m a Norfolk Wedding Photographer and owner of Aperture Design. With 18 years experience in IT and digital marketing.