Sell more products with dynamic mock ups in Pic-Time
If you’re not doing In Person Sales (IPS) then you need to use a gallery system that’s going to help you drive sales. IPS is always going to drive bigger sales (and if you want to do IPS, but don’t know where to start, go speak to Maggie over at https://www.ipsacademy.co.uk/). But for those of us who have decided to stick with online gallery systems, it’s important to pick one that really helps to increase sales.
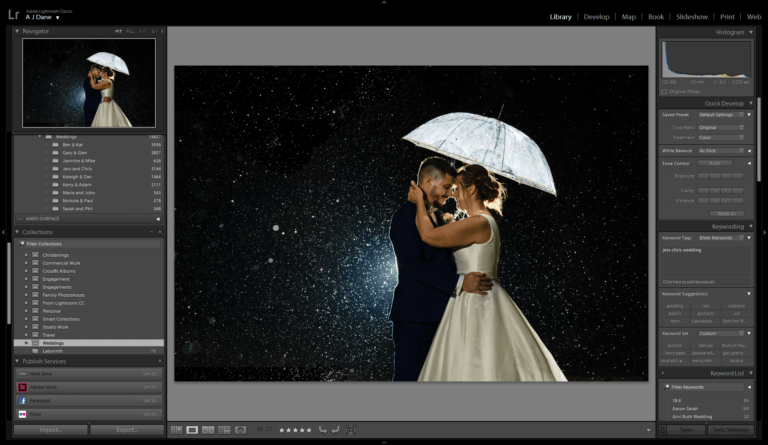
Which is why I’ve been using Pic-Time since early 2019.
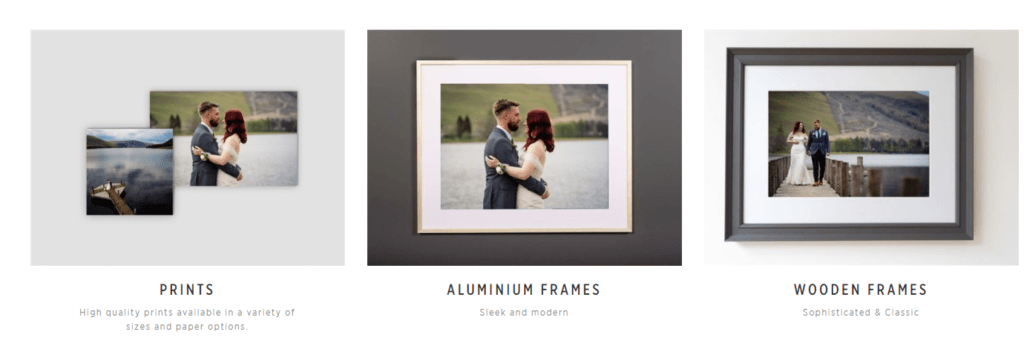
They’ve always had great automations to help you market your products. However, the integrated labs in the UK don’t meet the standards for what I want for my clients. I use Digitalab for all of my prints, wall art and albums, and I don’t want to compromise on my products in order to use an online gallery. So instead I’ve added these products as custom products.
The big downside of doing that, was that you lost one of Pic-Times best features, previewing the images inside your products inside the online shop, but not any more!
Pic-Time have now added the ability to turn images of your own products into dynamic mock-ups within the Galllery. And this is how you do it:
Photograph your products / Create Mockups
Before you start you need images of your products, these need to be 1000px x 750px canvases, and you need two images, one with the frame in landscape and one with it in portrait.
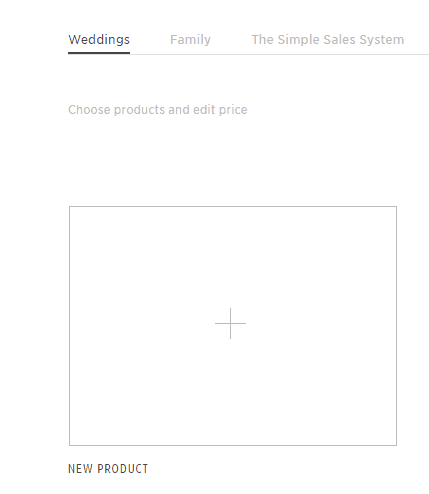
Add your custom Product
Go to Settings – Store Pricing, and click the Add New Product tile
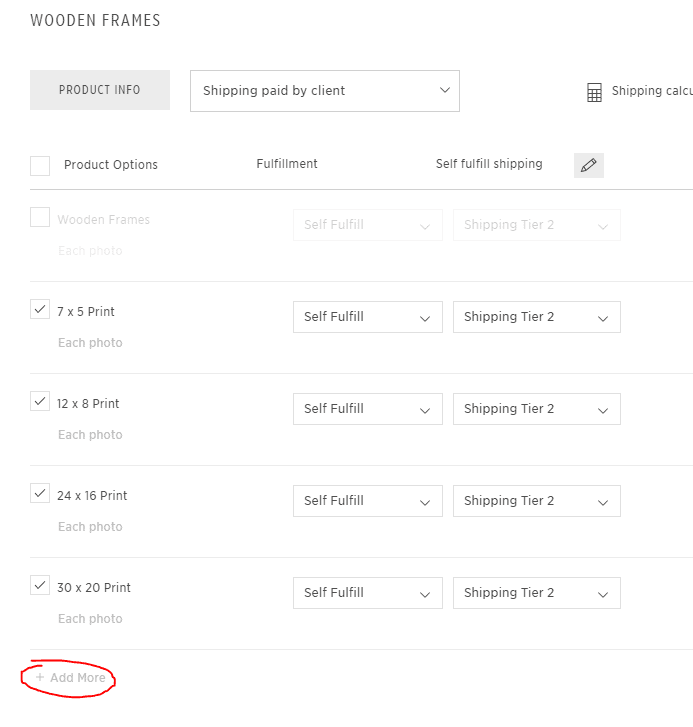
Add your product variations
Click the Add More button and add your variations and pricing for each option
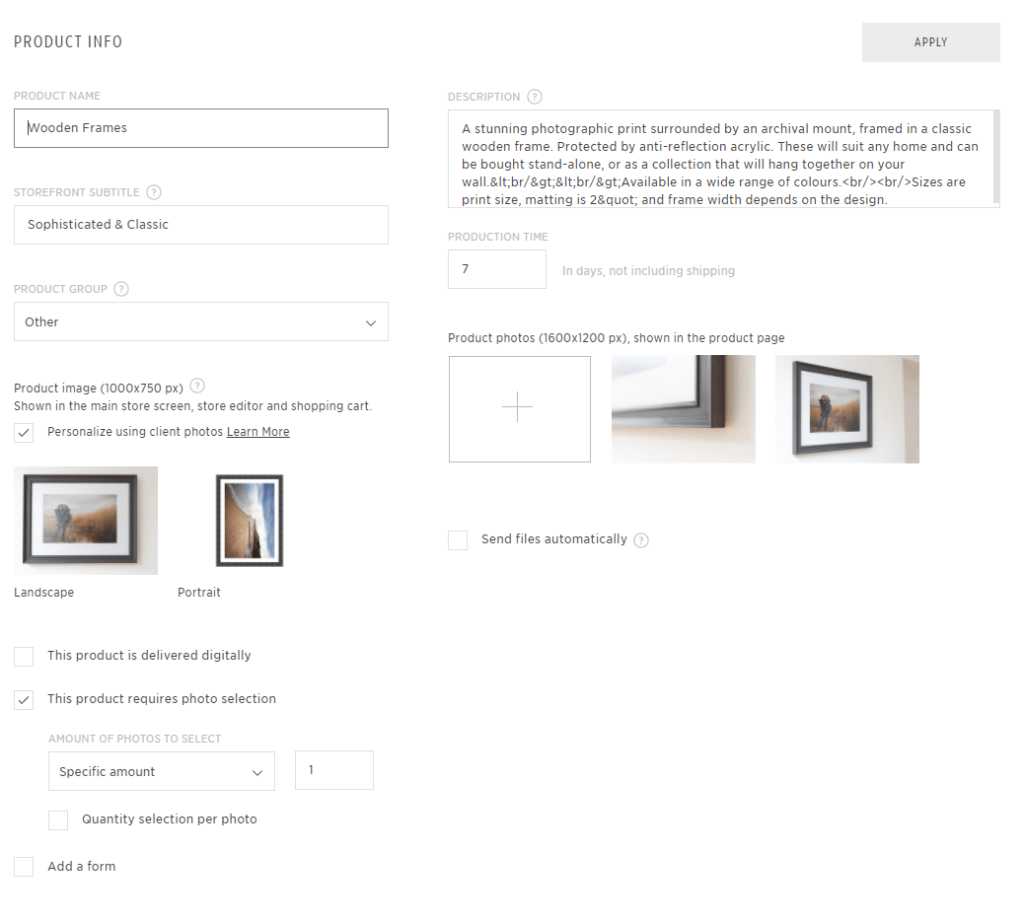
Add product details
Click the Product Info Button to take you into the product detail editor, add a description, number of photos required, description, production time etc. Make sure tick the box that says “personalize using client photos”.
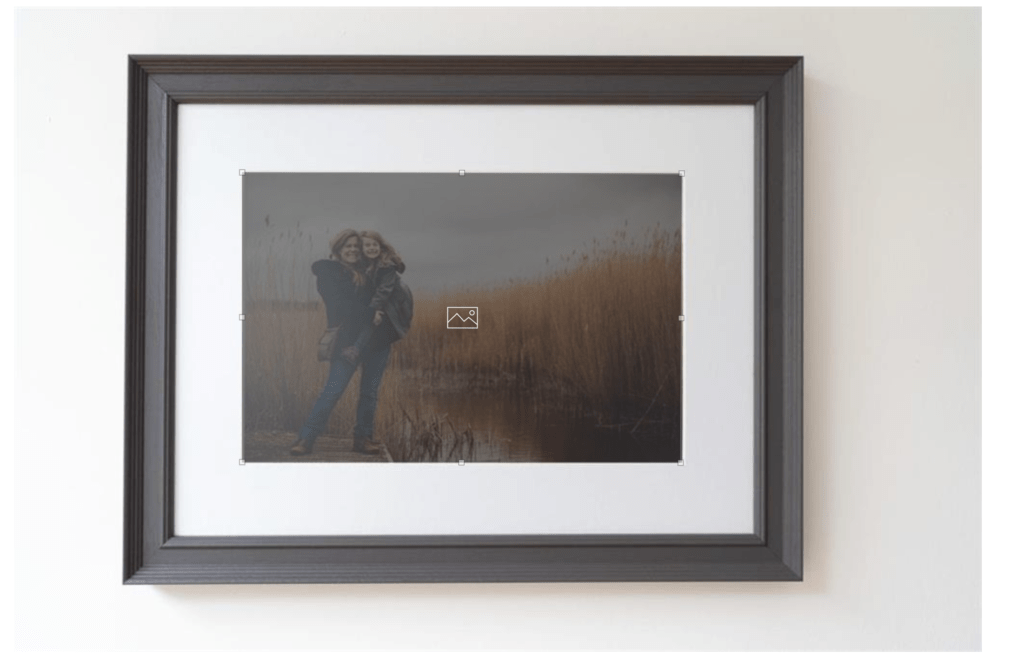
Add your images and define the photo box
Click to add your landscape and portrait images, then click the pencil to open them in the editor. This will allow you to select the box that the image will appear in. Make sure you’re using a Jpeg if doing it this way. As you can see in the image below, I’ve dragged the corners of the box to the corners of the matting and saved it. This defines the area that the image will overlay.
NB: If using png files, rather than drag the box over it, you need to create a transparent layer where the photo is going. So for rectangular and square frames, JPEG is much easier. However, using PNG files allows you to use non standard shapes like circles or octagons.
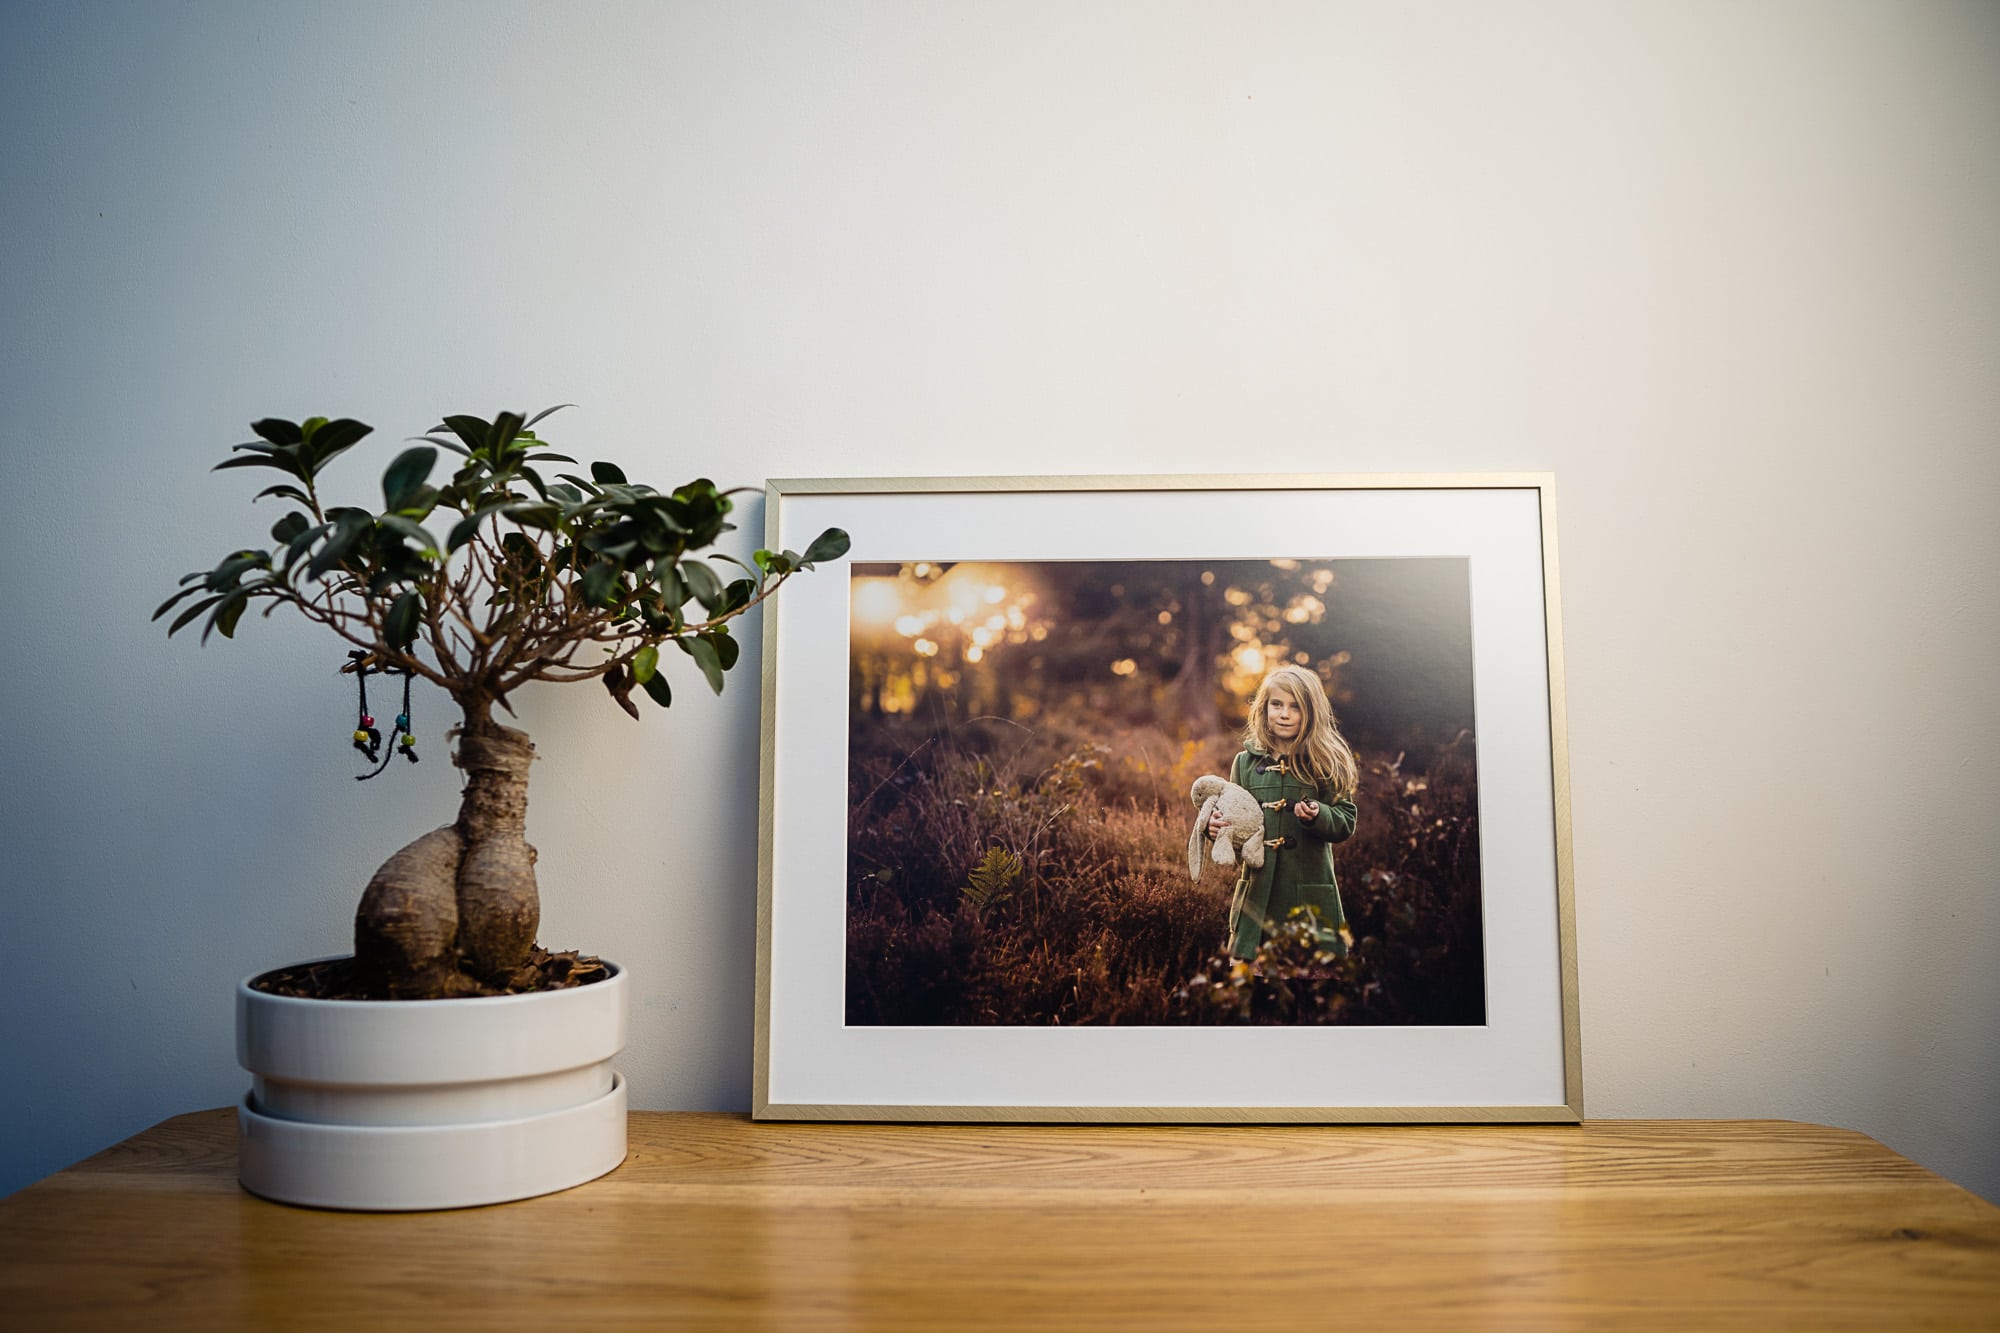
The end result
Your mockups are now used in the client galleries, showing them how their images will look. It chooses images randomly for the display until the client favourites some images, and it will then use the favourites first.
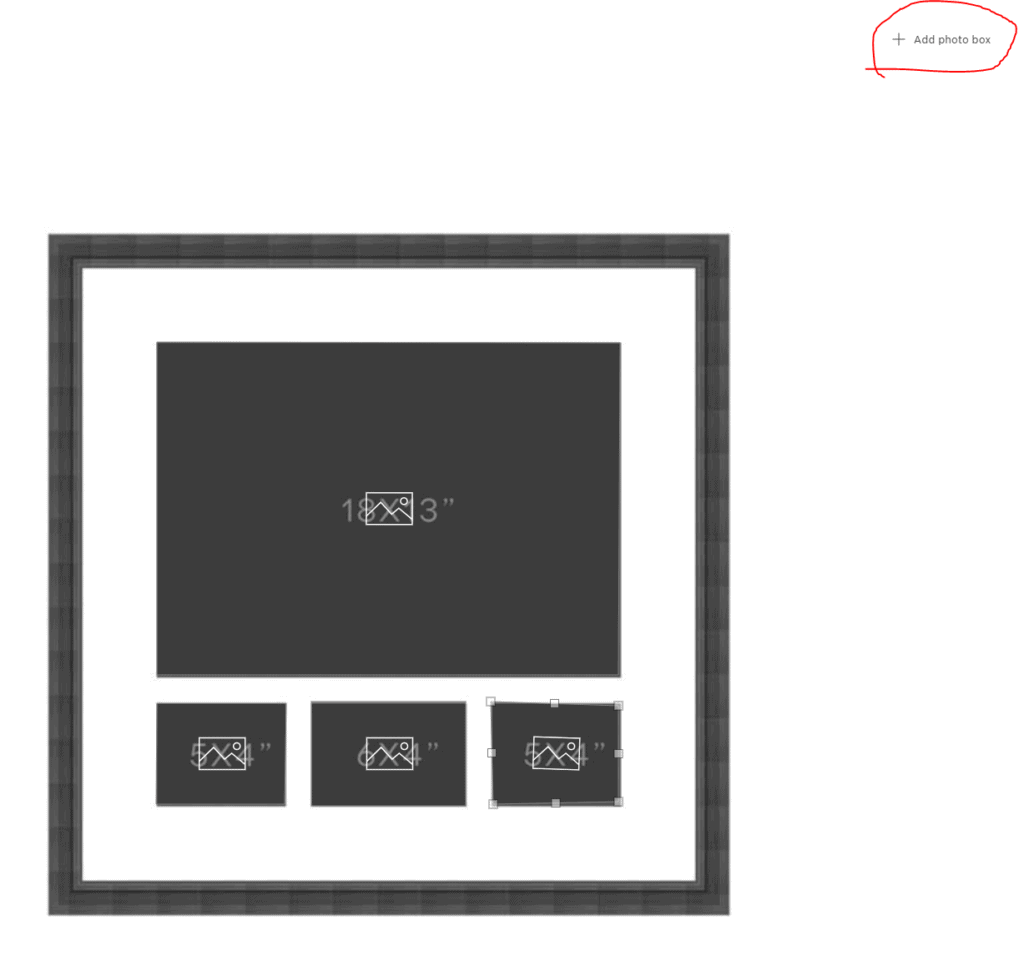
Does it work for multi-aperture frames?
YES! When defining the preview area just click the “add photo box” button for each aperture and resize them correctly, like below:
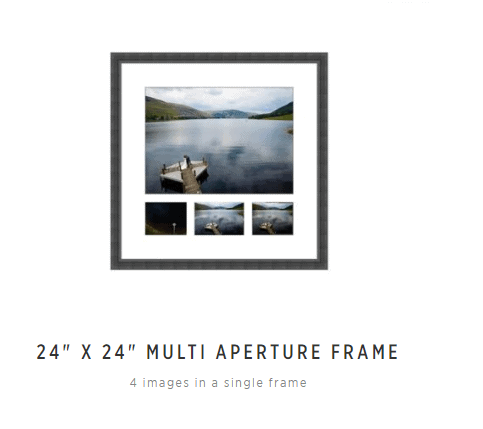
And then in the store you get:
Want to use Pic-Time?
You can use our code to get an extra month free: R69DMW
Want some help setting it up? Drop https://www.aperturedesign.co.uk a line who will put a quote together for you depending on how many custom products you need added.