How to take awesome dance-floor photos
I love dancing shots at weddings! Nothing like getting stuck into the middle of a party and capturing everyone having an awesome time. But invariably the lighting for the party isn’t great, what’s fantastic for a party atmosphere isn’t always good for a photographer. So if you want to capture some incredible dancing shots, you’re going to need to add your own light.
My approach
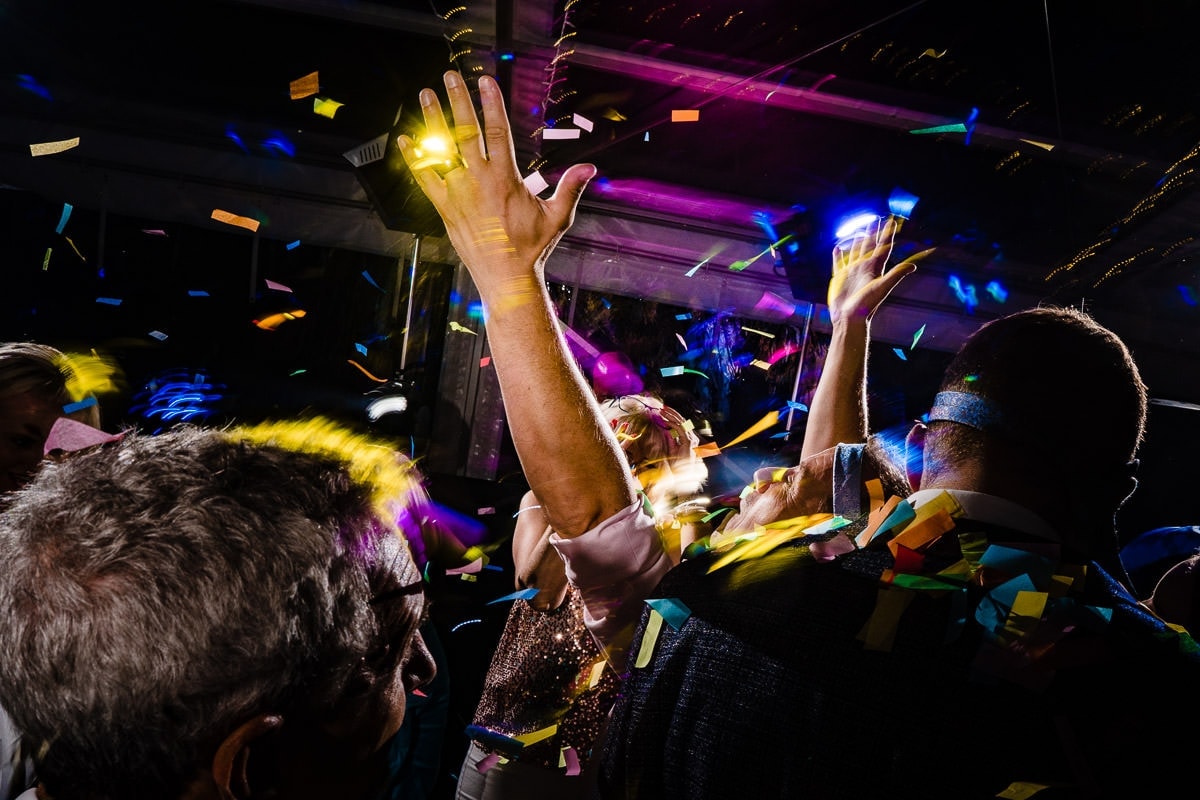
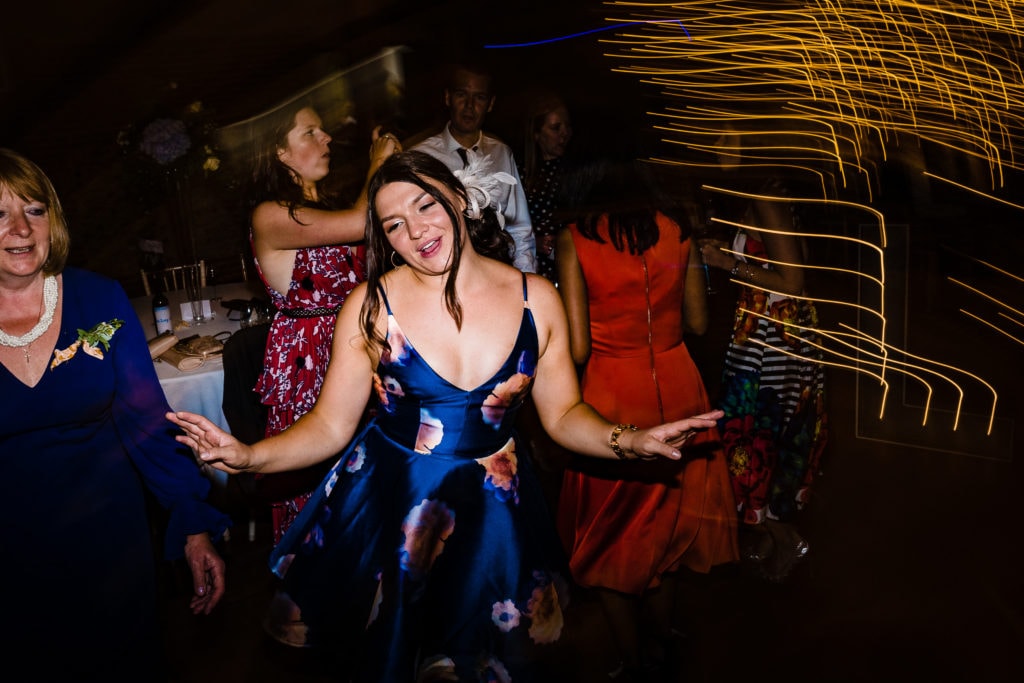
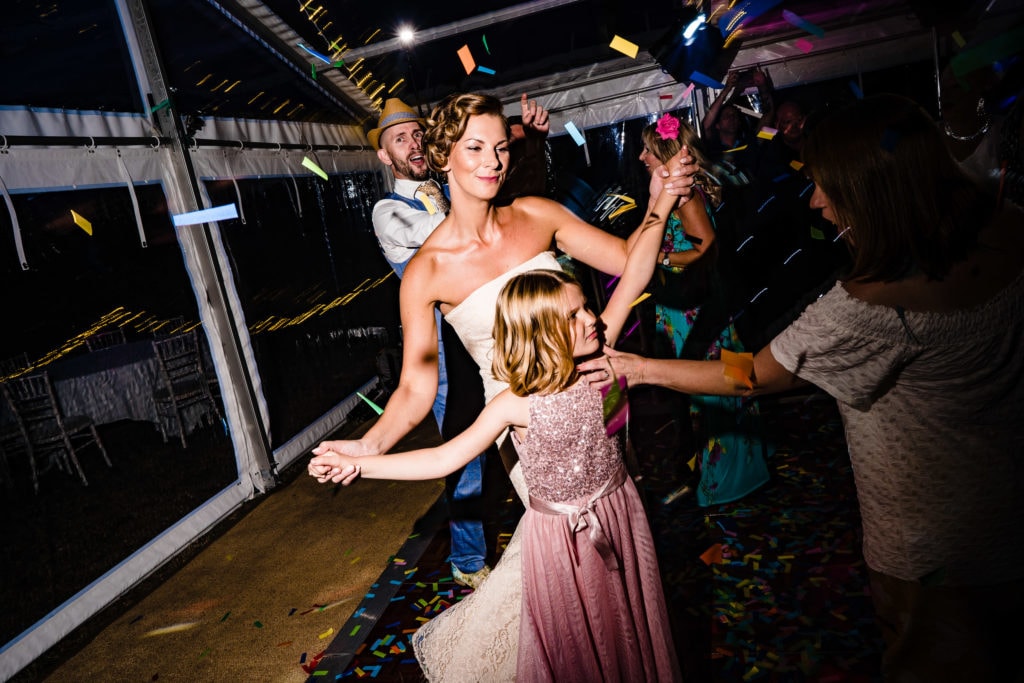
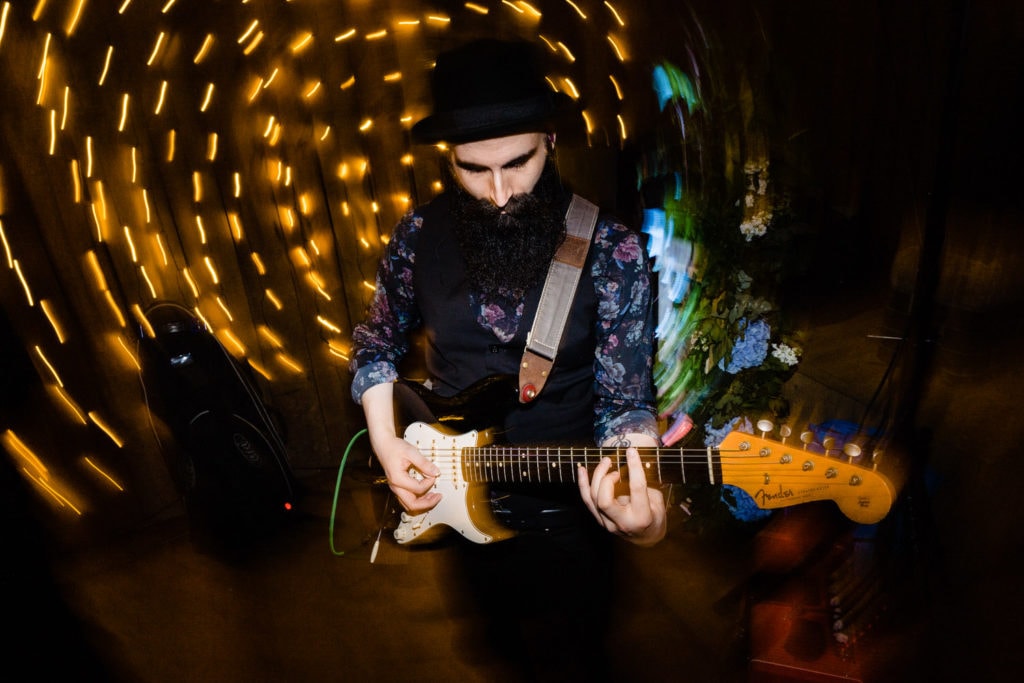
I like to capture a bit of movement in the dancing, I feel it adds to the atmosphere and captures the sense of the party. So I tend to drag the shutter a little to let a little more ambient light in and get those light trails. I don’t like to overdo it though, so I’m typically using a shutter speed of around 1/10th of a second. Just enough to get some nice trails, without them dominating the image.
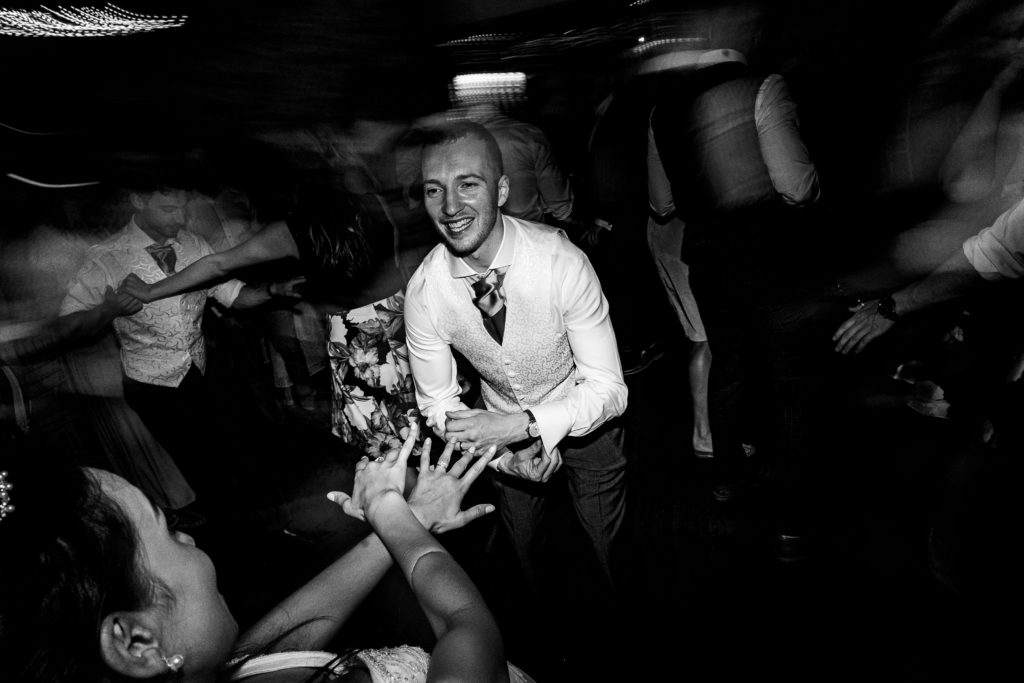
I’ll shoot most of it from close up, with a 25mm lens, capturing the party from within. Getting in amongst it on the dance-floor to try and capture the feeling of being there.
I use a narrow aperture, around F11, and I pre-focus to approx 1.2m in front of me. So I don’t have to worry about focus, just being in the moment.
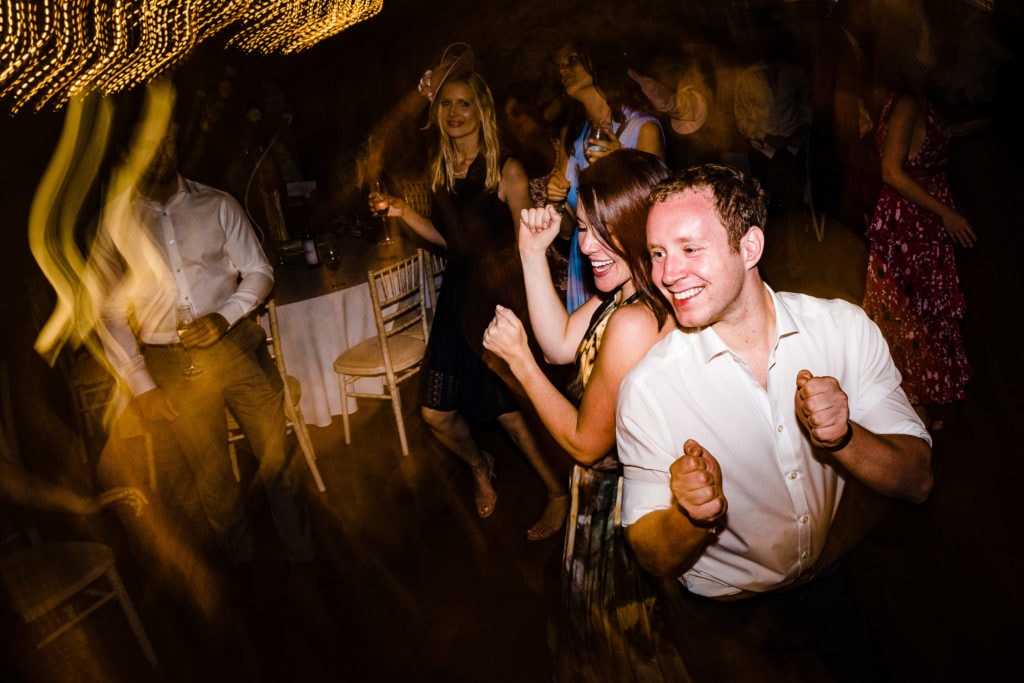
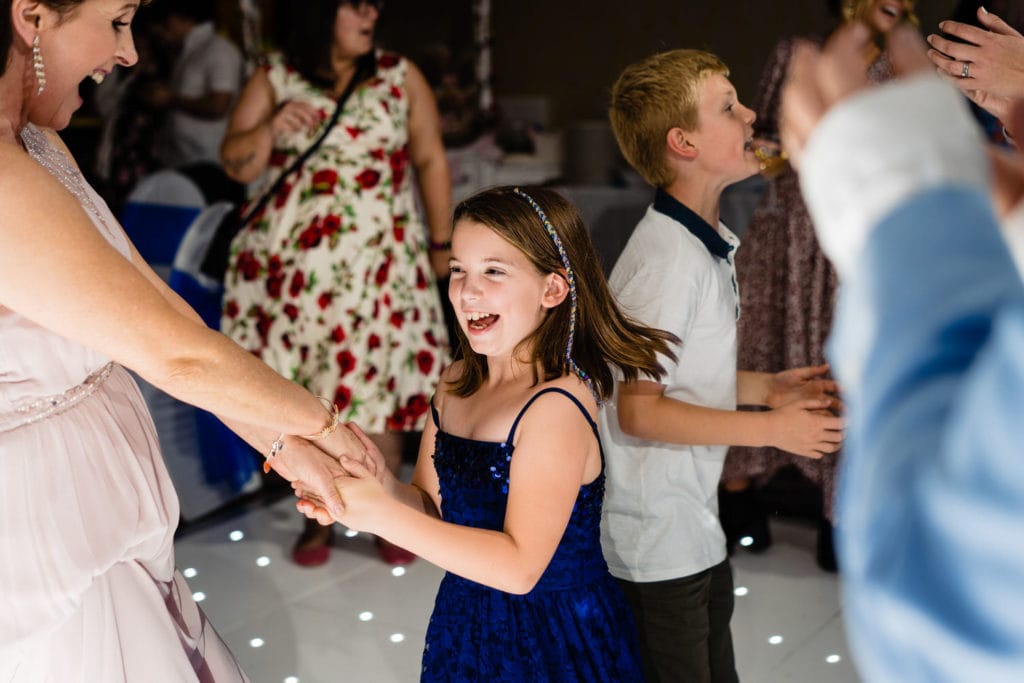
I’ll also shoot some from the edges of the dance-floor, typically with my 55mm, but using a wider aperture, and without dragging the shutter. Giving some more atmospheric images showing more of the dance-floor rather than the gallery just being close up with shutter drag.
My set-up
My lighting set up stays the same pretty much regardless of how the dance floor is laid out. I use three speedlights for the dancing shots. I will have two of these on stands either side of the band or DJ, with the light stands set as high as I can get them, the speedlights on 50mm zoom and pointing down and inwards, not quite at 45 degrees, but so that they are spreading light across the whole dancefloor. I start with these on 1/64 power and adjust as necessary.
I leave the lights on the stands on Group A on my remote, so they’re both always at the same power.
My third flash will be in my hand, zoomed to 24mm as I’m going to be close up to the action, and set to TTL. Having it in TTL and in my hand means I can change how it’s used. I can point it at the ceiling or a wall to bounce it, or point it directly at my subject.
I have the light in my hand set to Group B, so I can change the power independently from the flashes in the background.
To start, I’ll leave the speedlights turned off. I know I want a narrow aperture, so I’ll dial in F11. I’ll start with a shutter speed of 1/10th and adjust the ISO so i’m getting the light trails that I want. If I want longer trails, I can reduce the shutter speed some more, and decrease the ISO.
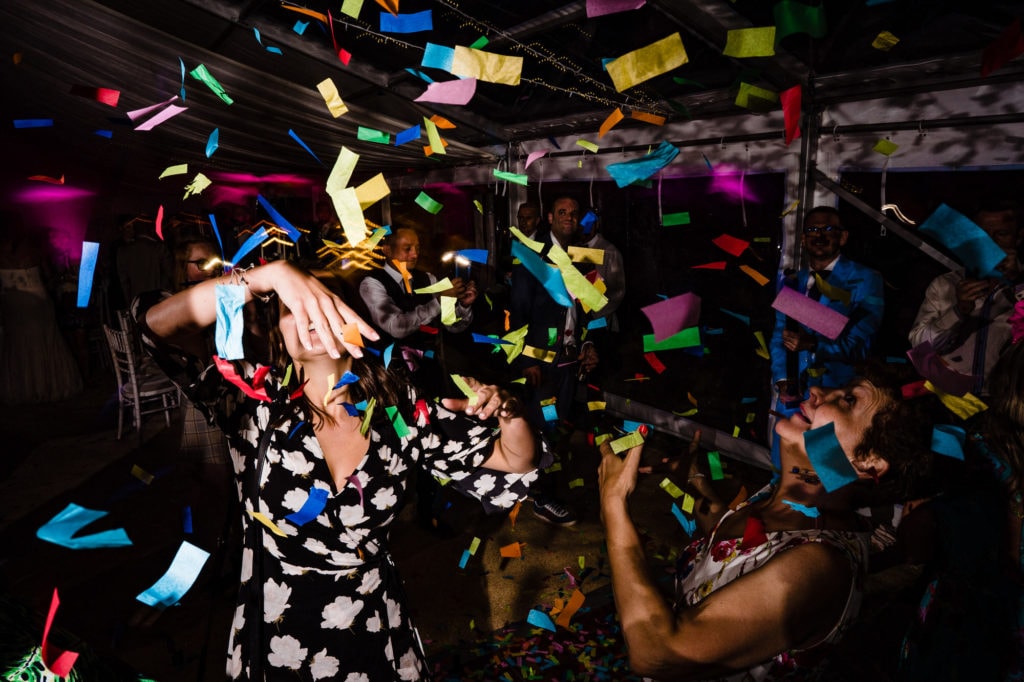
I want the flashes to freeze the movement, and I don’t want light trails in front of my subjects, so I set the flash mode to rear. The flash will overpower the light trails this way and ensure that my subject stands out.
And then I’ll get stuck in, adjusting the flash power if necessary if I’m not freezing the action, or if I’m blowing highlights.
I can’t give you exact settings that will work every time, as it all depends on the ambient. But if you follow the process of getting the light trails how you want them first, and then adding your flash, you can’t go too wrong. As long as you’re using equipment that means you can change the power settings from on the camera, it’s a simple job of bumping them up or down.
Hope this helps, below is an example of the what this setup gives you!
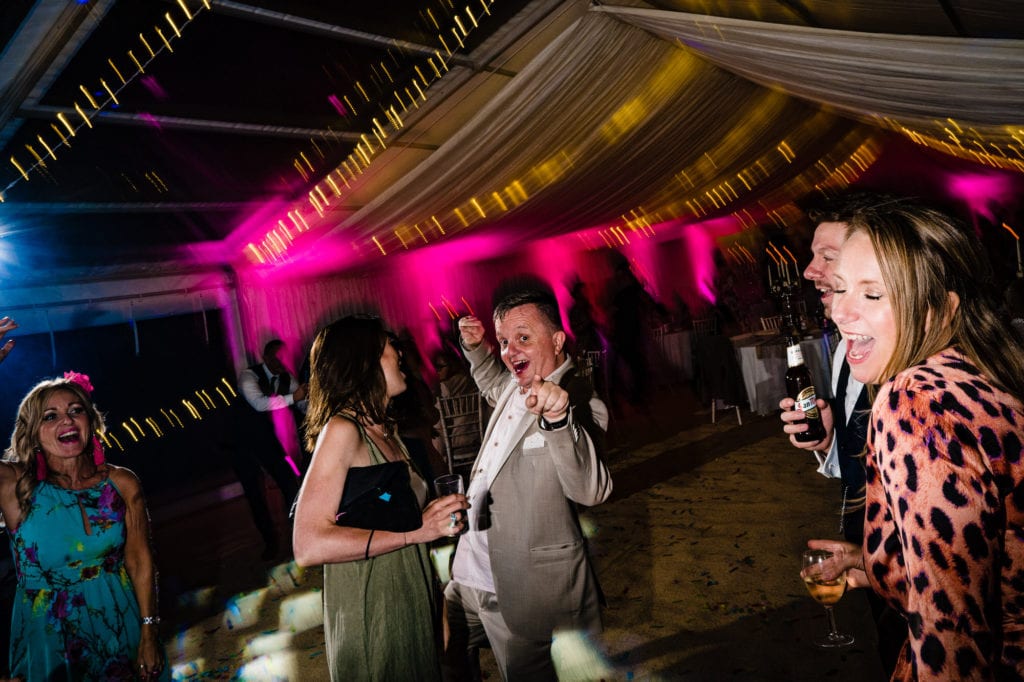


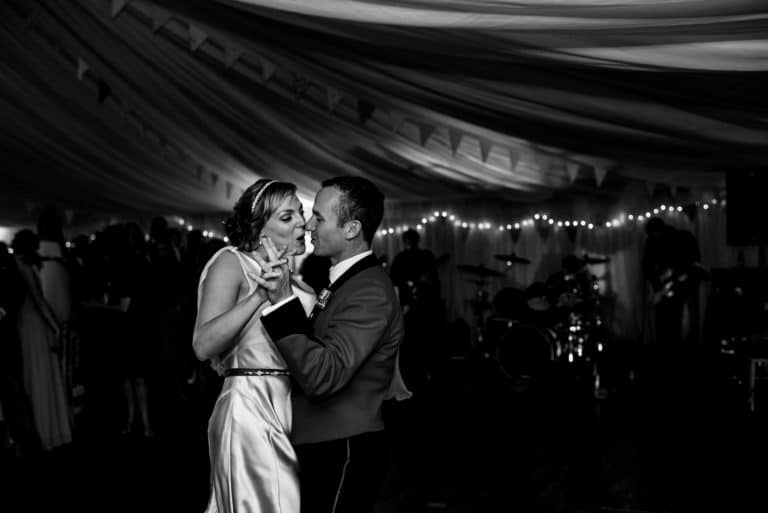
these photos are amazing andy!